Wednesday, July 25, 2007


The Tiara/Crown Tutorial!

Hello All,

As I promised, here is a tutorial for making paper or fabric crowns.


Materials:

-Large Poster Board Sheet, Any color (or) Sturdy Cardstock

-Generic Paper/Cardstock

-A multitude of designer Papers or Fabric ( Designer, Scrapbook, Wallpaper, or Contact Paper, basically prints which you like)

-A variety of Vintage Images

-Fabric Trims: Scraps, Tinsel, Holiday Tinsel Garland, Sequims, Ribbons, Etc.

-Glue

-Paints, Inks, Glitters, Glitter Pens/Glues

-Gesso and Gel Medium

-Scissors: tiny and regular sizes, decorative (optional)

-Oddities: Jewelry Bits/Findings, Rhinestones, Metal Pieces, letters: Foam, Wood, ChipBoard, ect.


1.Measure your head, to determine the size of your crown.

2.Make a Pattern for your crown. Go from classic point top, to large and wavy, the choice is yours. See my crowns for examples or research crown/tiara shapes on the computer or book store.

3. After you have traced your pattern onto the poster board, cut it out.

4. Now apply some generic paper in anycolor to the poster board crown on both sides with glue, making sure to get all the bubbles out. A brayer or rolling pin works well, let dry!

5. Now apply a layer of gesso to both sides, let dry.

6. Next find paper that you like and apply to the poster board on both sides with glue, again rolling out the air bubbles. Try using a mix of papers for a more unique look. Example: The inside of the crown could be beige paper and the outside main part could be striped paper.

7. When glue is dry, apply a layer of gel medium to both sides of the crown. This gives the piece flexibility, to bend with out distorted cracks or weird paper bubbles and lines.

8. When Gel Medium dries, you are ready to paint, embellish, decorate your crown.

9. For crown security and to keep on your head, I glue ribbon to the middle of each crown end, so I can tie it closed with a bow. Example: think of how you tie and apron closed.

10. Last Step, get a cup of tea, find your favorite chair and put on your crown that you made, which is fit for a Queen!

Thursday, July 19, 2007

The Ultimate Fairydipity Cakes Recipe!

This basic recipe makes 12 large fairydipity cupcake cakes!
12-hole bun tin (these are 6 1/2 cm at the rim and 2cm deep).

Ingredients:
3/4 cup unsalted softened butter
3/4 cup granulated sugar
2 eggs, lightly beaten
1 teaspoon vanilla extract
1 cup self-raising flour
3 tablespoon milk

Preheat the oven to 375 degrees F.
Grease the cupcake tin with butter or line with the cupcake baking cups.

1. In a mixing bowl beat the butter and sugar until pale in color and fluffy.(Use an electric beater, mixer, whisk or a wooden spoon. )
2. Then add the lightly beaten eggs, a little at a time. Next beat in the vanilla.
3. Now sift in half of the flour and fold into the mixture. Add the milk.
then add the rest of the flour and fold until well mixed
4. Finally spoon the mixture into the tin and bake for 12 to 15 minutes or until golden on top.
Let the tin cool for ten minutes on a rack before removing the fairydipity cakes from the tin.

Options: Pour half the batter into cupcake tins, add red raspberry jams, pudding or fruit, lemon glaze or frosting, toffee pieces, coconut or almond paste, then pour remaining cupcake batter on top.

Frost with your favorite frosting.
Ideas: Cherry Vanilla Whipped Frosting:
Mix 1 pint heavy cream, 1 small box instant French Vanilla Jello pudding mix, 1/2 cup pitted cherries( or maraschino or 1 tablespoon cherry oil/extract) and 4 drops red food coloring to a large bowl, then beat until whipped. (should be fluffy yet firm in texture).

Saturday, July 07, 2007

When making Image Transfers:
1. Try using lazer copies, go to staples or a copy center and make a color copy of the images you want to use. Then place color side down onto the packaging tape, and smooth the image into it really good.Then soak in water for a minute or two, needs to be really wet. Then start rubbing it off, should work then, let me know if it doesn't.

2. Another great way to transfer images is to take a wood stain pen usually in a neutral color, or a wood blender pen. place lazer color copy down on piece you are transfering to, and saturate with the marker on the back side, until image is transfered, then seal with matte sealer or gel medium.

3. Liquid Sculpty, pour/rub liquid sculpty over lazer color copy, bake, then soak in water and rub off. Try using translucent sculpty for a backdrop!

Friday, June 22, 2007


This is a piece called:The Fairy Opera, which is a beaded purse pocket.This is part of my fabric purse pockets series. I've branched out of paper pockets and headed for fabric.The purse is made from a small greyish bead bag, which I added a wire bead handle, my signature faires, real vintage opera program from my collection, fairy images and findings such as: enamel pins, ribbons, beads, glitters, etc.

Sunday, June 10, 2007


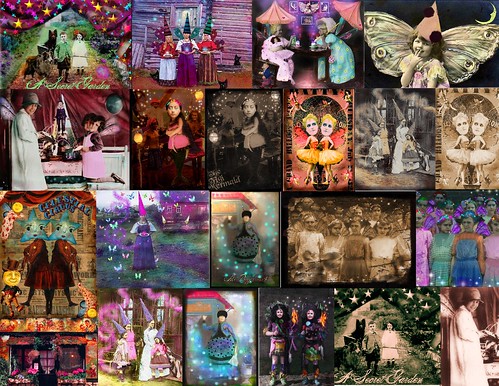
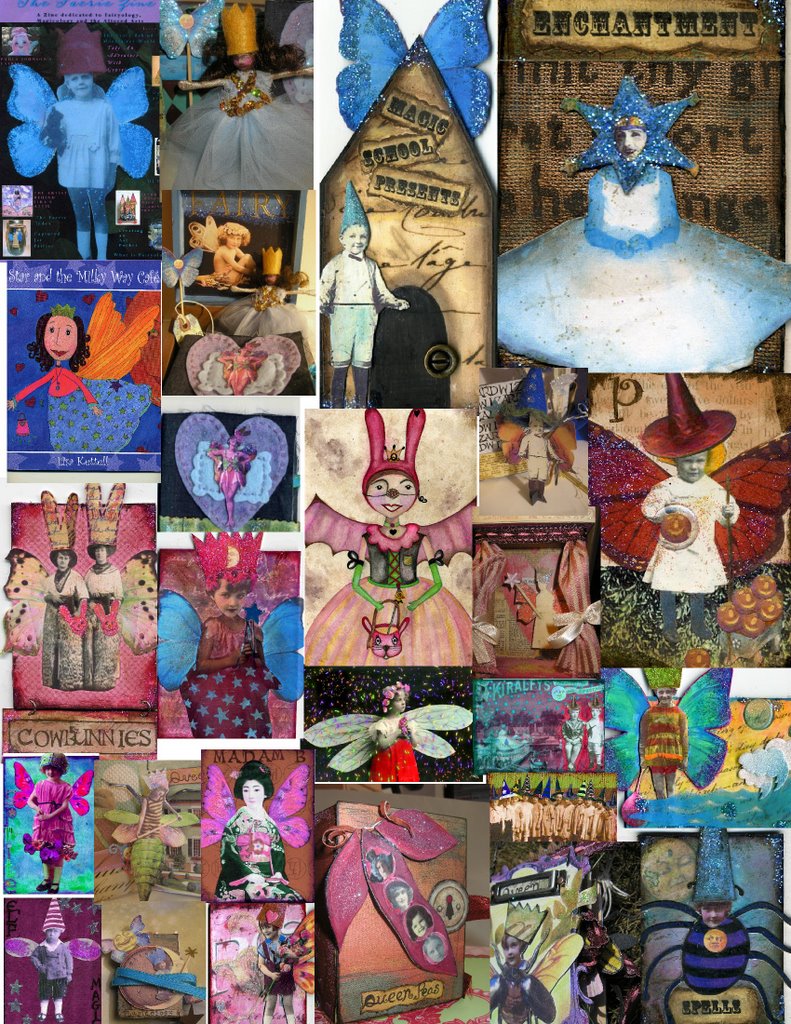
I've been on a digital art kick, creating everything I can in a multitude of art programs such as: photoshop, paintshop, collage creator, etc. Here is a preview of my New Fairy and Oddity Art Collection, that I have created!

Hugs!

Lisa aka Moonfaires!


Wednesday, April 04, 2007


Princess Penelope!
Here is a preview of my new art piece called:Princess Penelope, which was inspired by Vintage Easter Art and Sweet Goodies.

Sunday, March 04, 2007


Here are more cards from The Wonderland Chronicles. Which is a series of art images which will chronicle the true story of Wonderland through illustration and story. Every art card in this series will come with an unfinished story on distressed parchment paper. To find out the next installment, you have to buy the next card.
After all 25cards have been sold, a zine/book will be created telling the whole story in full, complete with the altered images..
Look for more of my ebay auctions at:stores.ebay.com/Queen-Lisas-Art-World! Pictured here are: Taylor and Talie no.4, Flora Candlebook no. 8, Clementine and Chloe no.5, and Mad Tea Party no. 9.


My New Series: The Wonderland Chronicles!

The Wonderland Chronicles. It is a series of art images which will chronicle the true story of Wonderland through illustration and story. Every art card in this series will come with an unfinished story on distressed parchment paper. To find out the next installment, you have to buy the next card.
After all 25cards have been sold, a zine/book will be created telling the whole story in full, complete with the altered images..
Look for more of my ebay auctions at:stores.ebay.com/Queen-Lisas-Art-World!
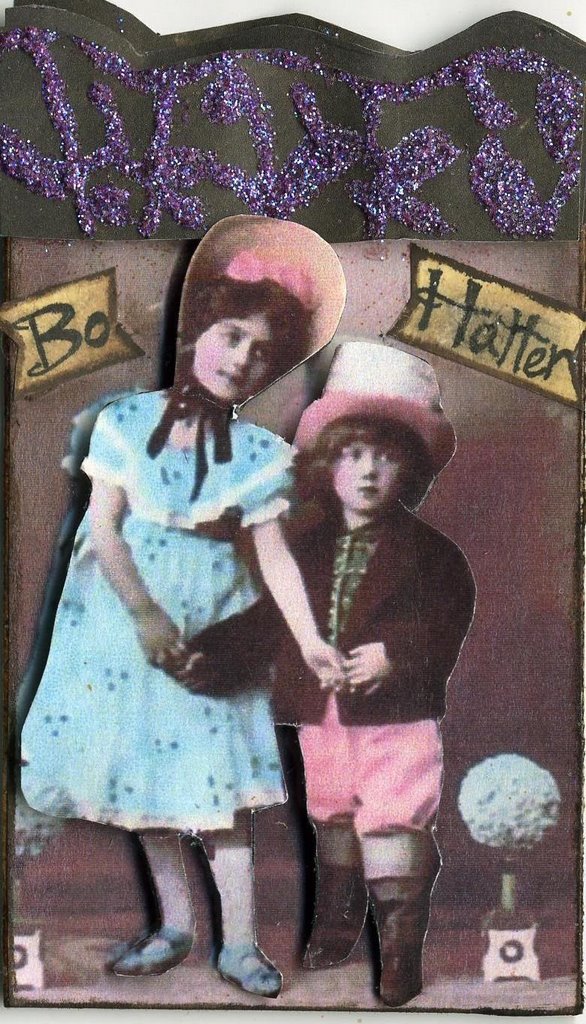
Picture are: The Mad Hatter's Society, The Queen of Hearts Academy, Addie and Austin, Clara and Abby. The Mad Hatter's Society and The Queen of Hearts are the two art cards which inspired the new series. These 2 are apart of my Wonderland Magic Series! Addie and Austin is the 1rst card. Clara and Abby is the 2nd card in the Wonderland Chronicles Series.

Tuesday, January 23, 2007

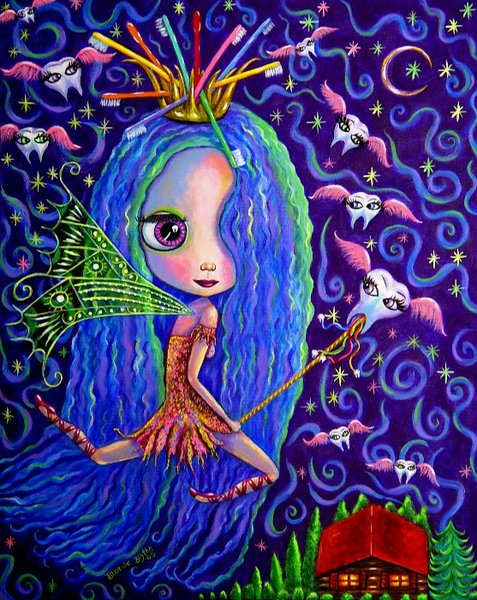
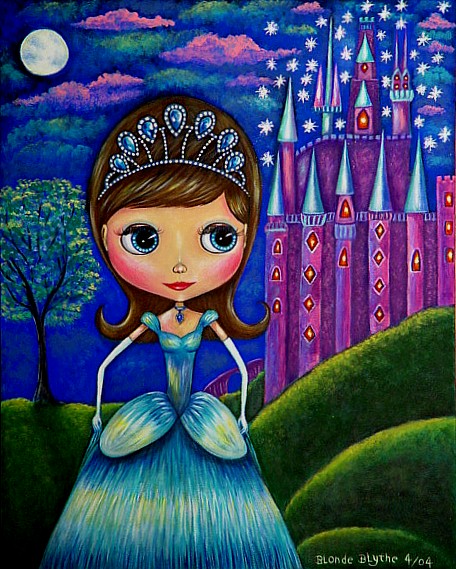
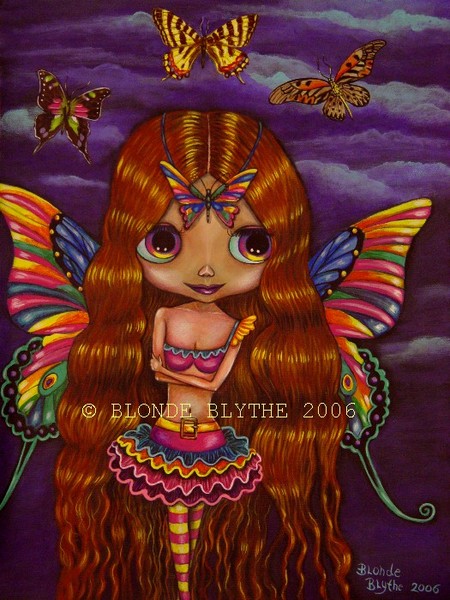
Some great fairy and fantasy paintings I found from a fab artist:
by:
Blonde Blythe


Friday, December 01, 2006

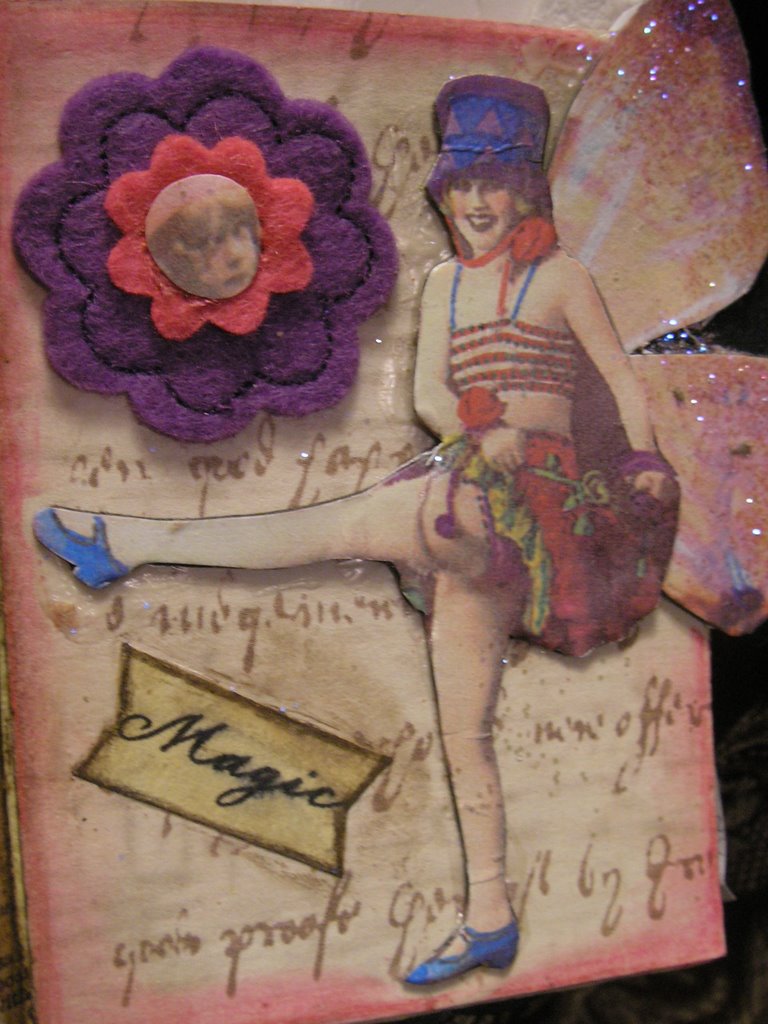
Here are some pics from my new atc/aceo called: "The Magic of Pixieland", on sale now on ebay.


Thursday, November 09, 2006

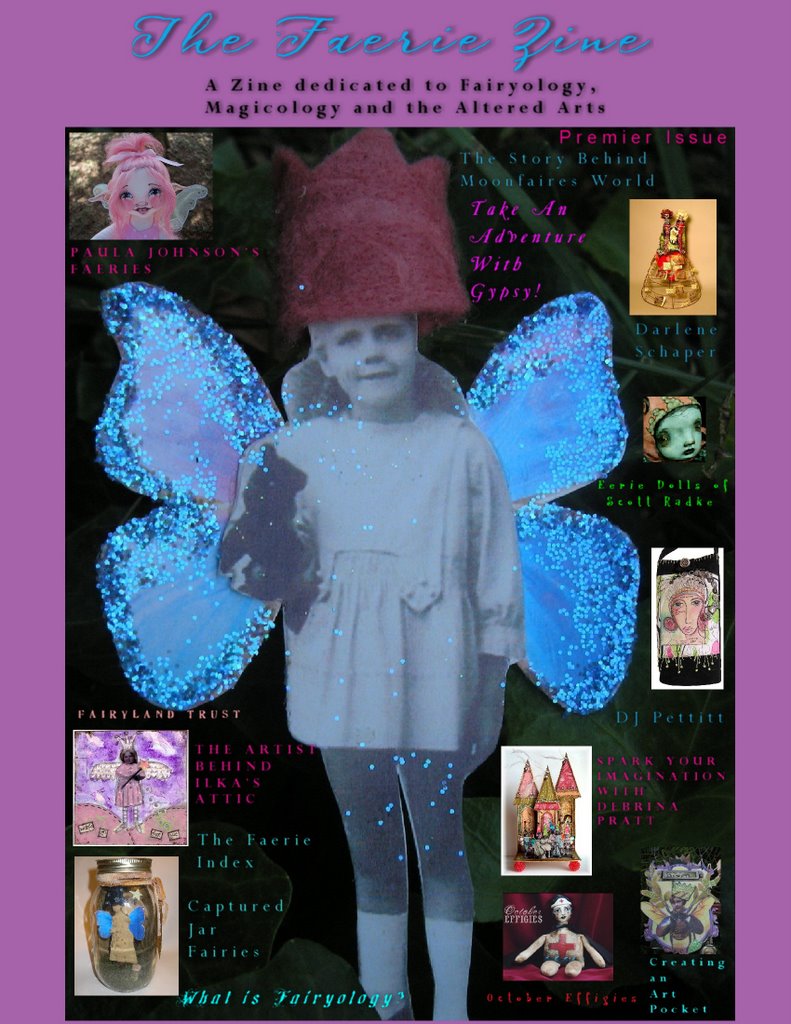
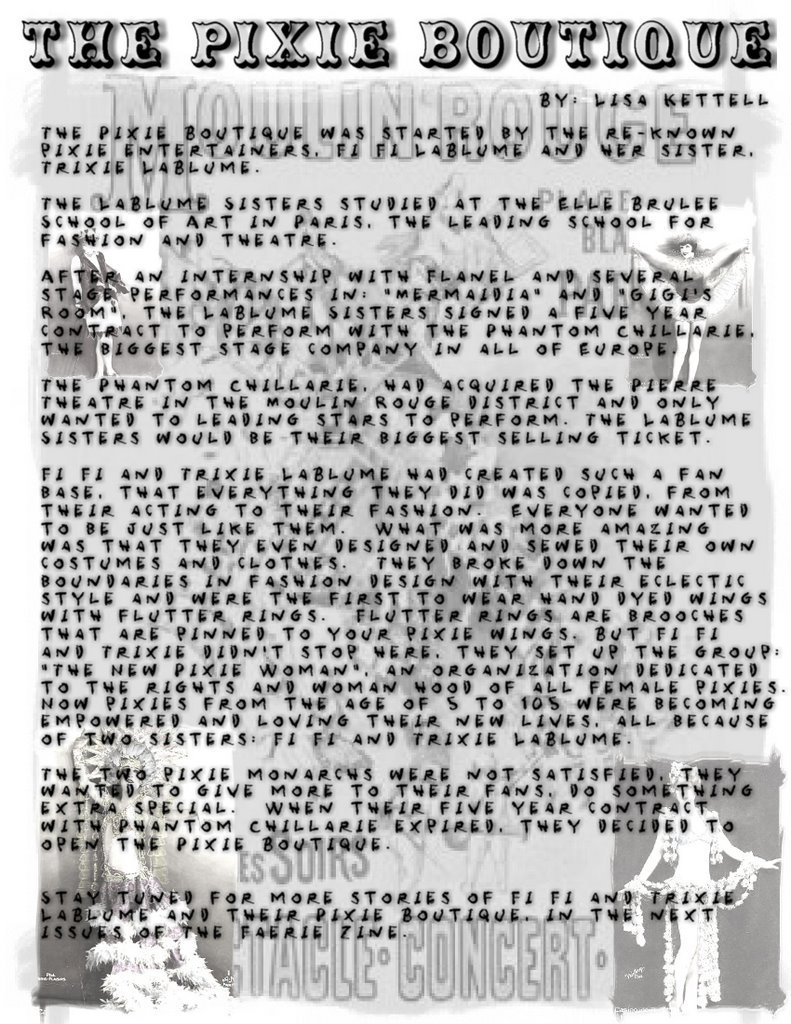
A Preview of my zine: "The Faerie Zine", which has proven to be very successful to me. Look for the 2nd issue of the zine due out in the beginning of December.


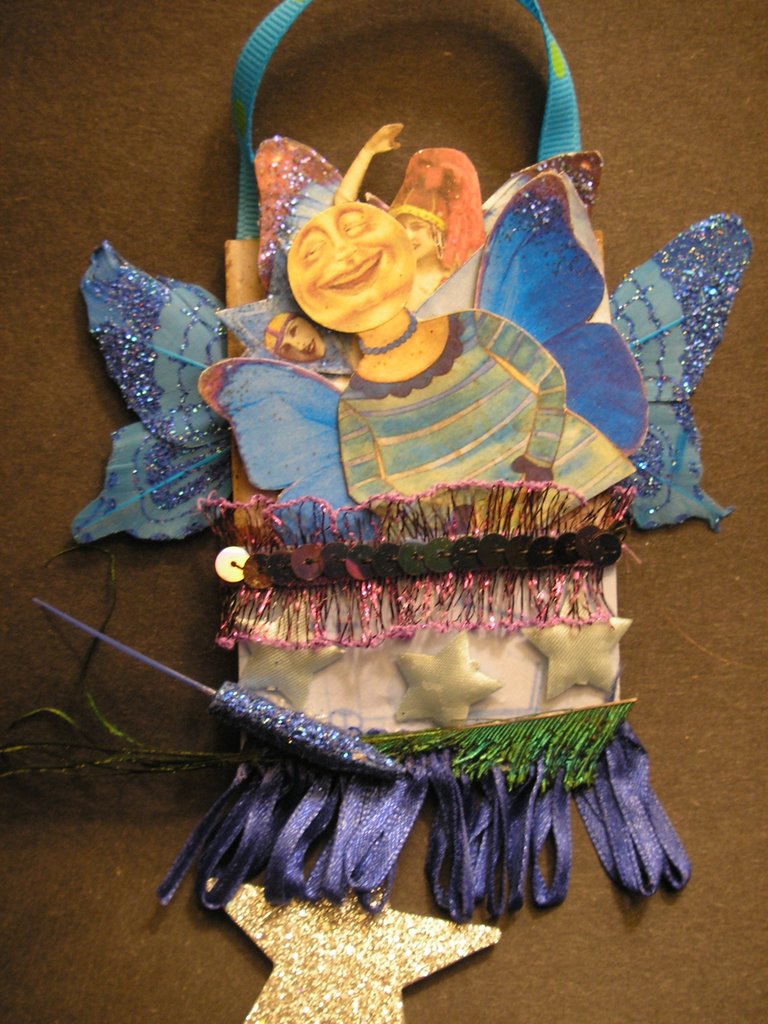
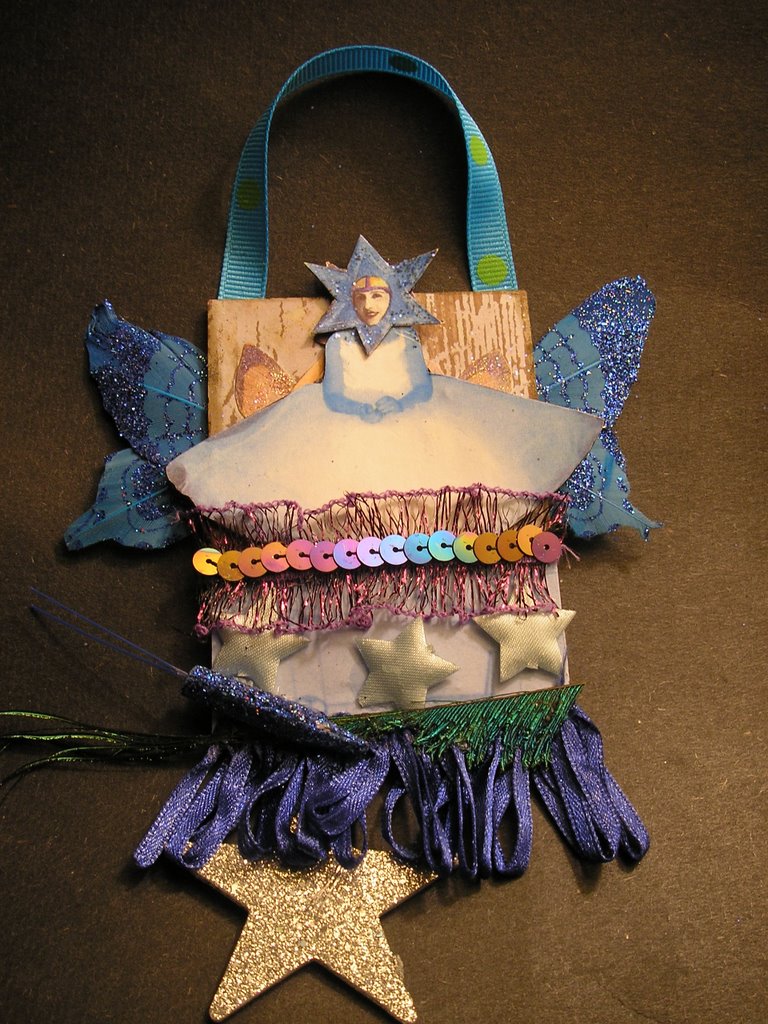
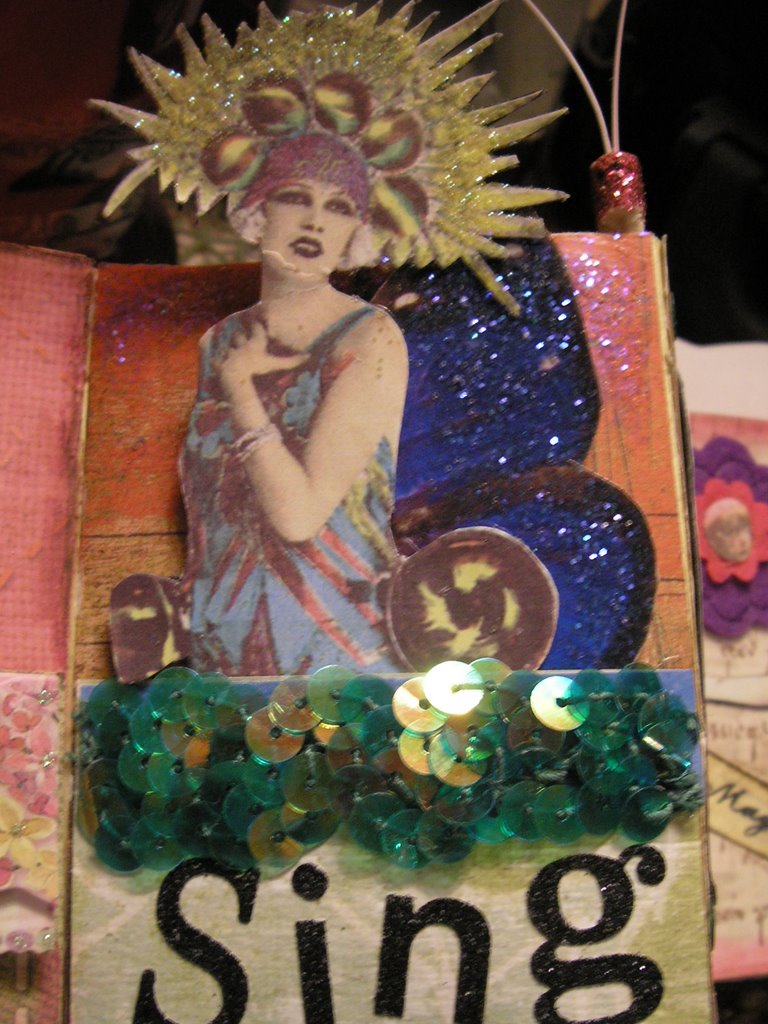
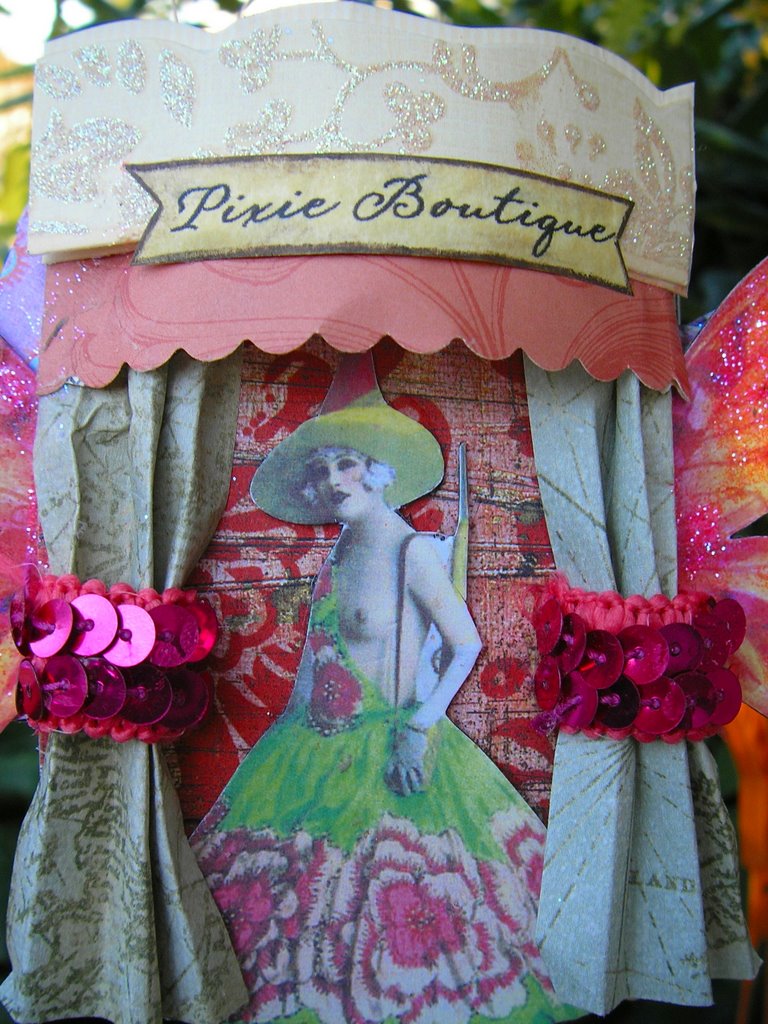
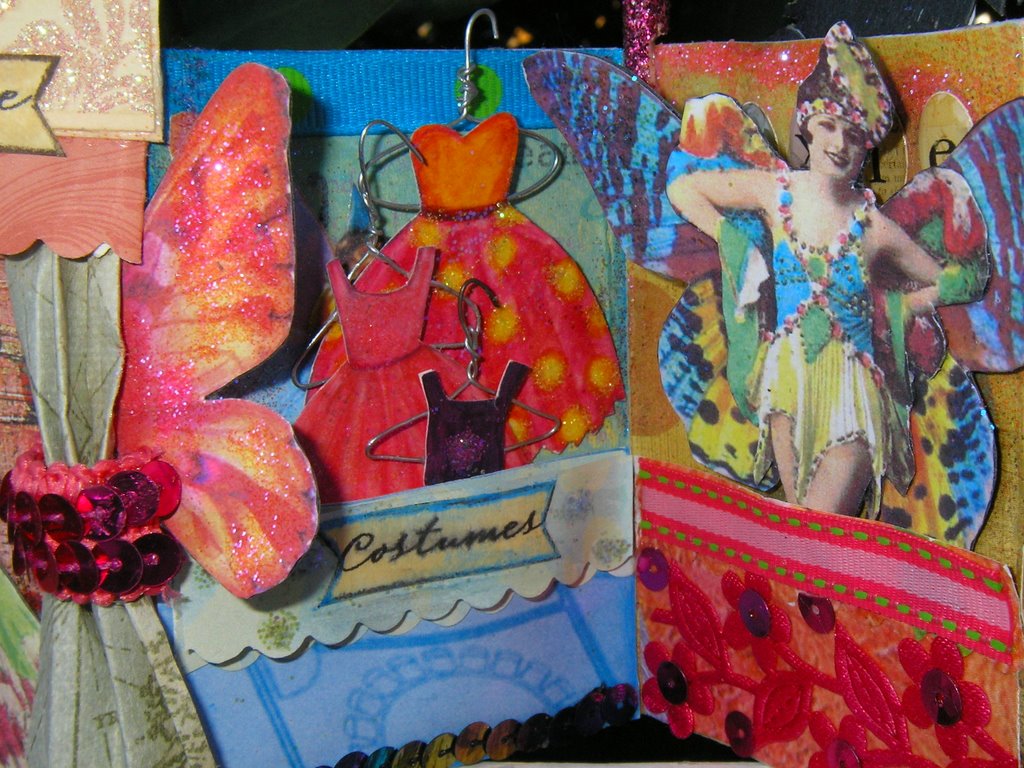
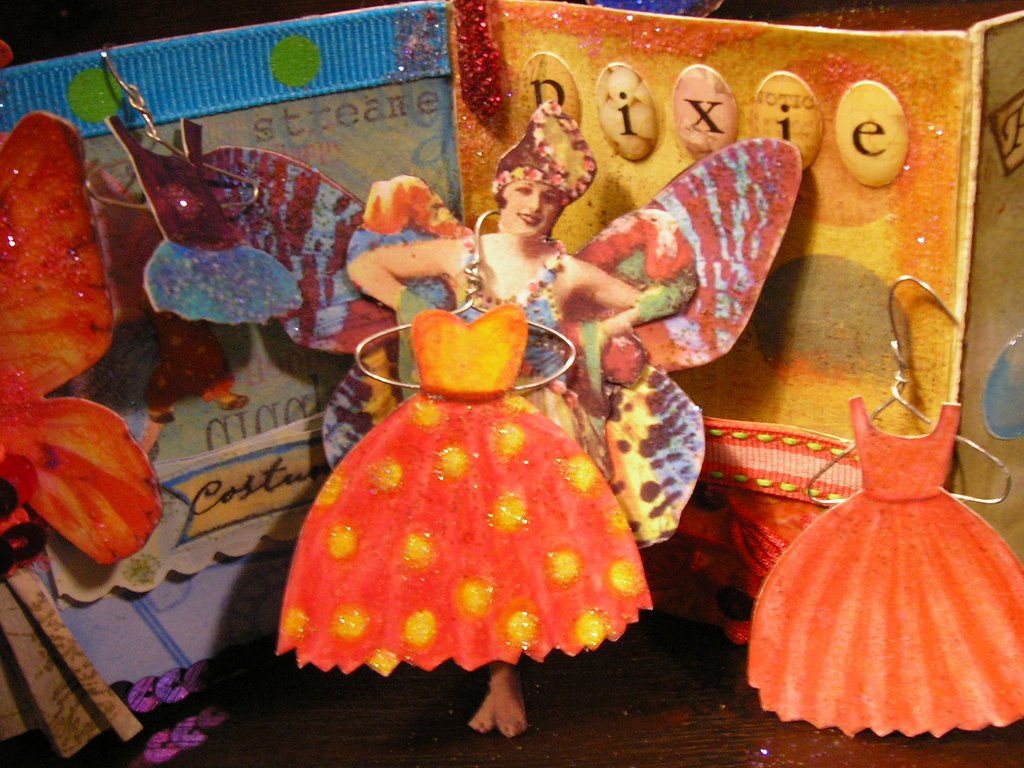
"The Pixie Boutique" Part Two...Here are pictures of the otherside of this art card pocket/book.


"The Pixie Boutique", An art card pocket/book, which I made with a variety of items and oddities. It was on sale on ebay and has been sold. This is the first in my new series called the pixie pocket series.


Wednesday, November 01, 2006

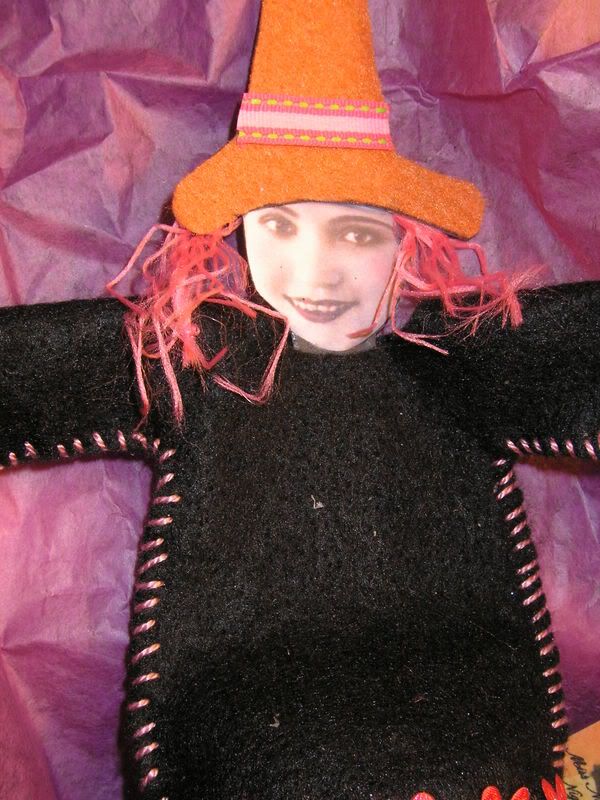
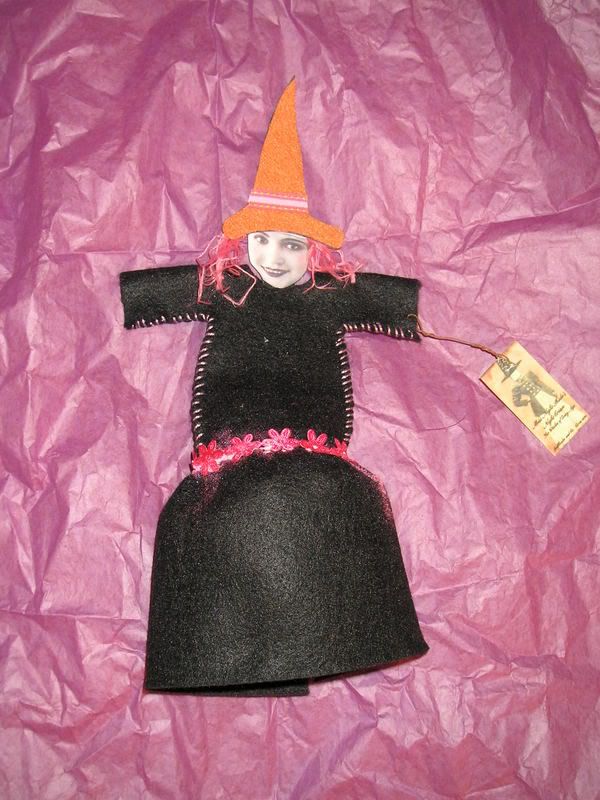
An Altered Art Halloween Doll I made for my mom, for Halloween!


This doll was created with a multitude of items: Felt, thick cardstock, embroidery thread, glitter, designer trim, wire, homemade tag with my art and lettering and An altered image.

Monday, October 16, 2006


New ATC's I Just Made!

Friday, October 13, 2006

The Fairy Artifact Box! By: Moonfaires, that's me!