Showing posts with label rit dye. Show all posts

Saturday, April 04, 2015

DIY Peeps Wands

Its that time of year, Easter and Peeps.  I love the adorable shape and sweet taste.  I needed a way to preserve these sweet delights to enjoy year round, the result Peeps as craft embellishments.  Using peeps in crafts is a great way to recycle any leftovers that never made it to the mouth, lol.

Every year I head to store and purchase a stash as soon as they become available for purchase. I save some for sharing at the Easter table, the others I open up the packaging and let air dry for a week so they are ready for crafting.

This project is fast an easy to do using paper straws, stale peeps, and lace ribbon ( I dyed with Rit Dye).  If you are looking for a creative way to serve edible peeps at the Easter dinner table, you can repeat this craft without glue and with fresh peeps opened the day of Easter. Sprinkle with edible glitter or colored sugar for more pizzazz.

To make your own Peeps Wands visit my step by step project on the Rit Studio site by clicking on this link: DIY PEEP WANDS

Other projects you can make are cards embellished with peeps, Spring/Easter assemblages, garland, banners.  Line a wooden frame with peeps.  What about peeps jewelry? Or how about peeps in a jar. Peeps in a box or peep crowns.

If you can't resist the urge to not eat your peeps for craft purposes, then make your own out of air dry clay such as model magic from Crayola.

 Hope you felt all the cuteness from these projects and head over to my tutorial at RitStudio.com to make your own.

xoxo
Lisa

Saturday, April 05, 2014

Peeps Wands


Do you know what time of year it is? Its peeps time. Here is another fun peeps project I created. This time I used Rit Dye for the lace ribbon and pom poms, paper straws and pink bunny peeps. A great recycled project using left over ribbon, paper straws and peeps. Perfect for all ages. Now let's get started.

Materials for the Decorating:
  • Pink bunny peeps, Peeps and Company
  • Paper straws
  • Pom poms
  • Ornate pearl stick pins, Lisa Kettell Designs
  • Tools/Glue: hot glue gun, hot glue sticks, scissors

Materials for the Dye:
  • Liquid Dye, Petal Pink, Rit Dye
  • White lace trim or ribbon, Joanne's Fabric and Craft Store
  • Plastic table cover
  • Paper towels or old towel
  • Measuring spoon, measuring cup
  • Large glass or plastic bowl

Directions to Dye the Lace and Pom poms:

  1. Prep your surface. Lay plastic table cover on the surface you will working over. Put on your rubber or latex gloves.
  2. Mix 2 tablespoons Rit liquid dye petal pink with 1 1/2 cups hot water in a plastic, or metal bowl and stir. Let steep for 20 minutes. For good hot water, heat some in the microwave in a glass bowl for 2 minutes.
  3. Place lace ribbon and light color pom pom in the liquid dye solution, let set for 5-10 minutes stirring occasionally. Remove the dyed ribbon when desired color is achieved and place onto a foil pan. Let dry. Reserve your remaining mixture for more dying by pouring into a glass jar or container, keep sealed


Directions To make Peeps Wands: 
  1. Push a paper straw into the bottom end of a pink bunny peep, secure in place with hot glue or glue of choice. Attach a pom pom to the back of the peep, tilting to the left side, secure with hot glue.
  2. Cut a piece of the dyed lace ribbon about 12 inches and tie around the bottom of the peep ( at the top of the wand). Then push in a pearl stick pin into the top center of the peep.

Tips/Tricks: 
  • Fill in any white areas of the peep with a decaupage medium mixed with petal pink Rit dye and add pinkish sand to finish. 
  • Try adding sugary pink clear or German glitter on the peep.
  • Add a crepe paper skirt and other fun details to your peep wand.
To see the original project I created and to learn more about using Rit Dye visit my project link inside my Rit Studio at: www.ritstudio.com/2014/04/04/peeps-wands


xoxo
Lisa


Monday, March 24, 2014

Deer Queen Tassel Necklace


Tassel jewelry is quite the trend these days. Starting last year they made a come back in fashion. This year they are setting an even bigger trend. With top fashion chains incorporating more handmade couture and animal themes, I'm excited to start doing the same. Last night I decided to create a tassel necklace using a discarded necklace, charms, rhinestones and a tassel. But the tassel was creamy white. No need to fear with a mix of pearl grey and left over aquamarine Rit Dye I had, the tassel would be dyed and a necklace would be made.

Here is the material list and directions so that you can create your own hand dyed tassel necklace.
To view my original post visit Rit Dye at: www.ritstudio.com

Materials:
For Dyeing The Tassel: 
  • Liquid Rit Dye: Aquamarine, Pearl Grey
  • White tassel
  • Measuring cup
  • Measuring spoons
  • 2 medium sized bowls (for dying and rinsing),
  • Paper towels
  • Plastic table cover
  • Rubber gloves
  • Tongs
  • Foil pan
  • Plastic spoon

For the Jewelry Making:
  • Jewelry chain
  • Deer pendant
  • Crown charm
  • Jump rings
  • Needle nose plier
  • 2 part epoxy glue

Directions:
Directions To Dye The Tassels:
  1. Prep your surface. Lay plastic table cover on the surface you will working over. Put on your rubber or latex gloves.
  2. Mix 2 tablespoons Rit liquid dye in pearl grey and 1/2 tablespoon aquamarine with 1 1/2 cups hot water in a plastic, or metal bowl and stir. Let steep for 20 minutes. For good hot water, heat some in the microwave in a glass bowl for 2 minutes.
  3. Place tassel in the greyish green tinted dye solution, let set for 5 minutes stirring occasionally. Remove the dyed tassel when desired color is achieved and place onto a foil pan. Let dry. Reserve your remaining mixture for more dying by pouring into a glass jar or container, keep sealed.
 Directions To make Necklace:
  1. Prepare 2 part epoxy according to package directions. Coat the back of the deer pendant or pendant of choice with the epoxy and attach to the top of the dyed tassel. Let set for a few minutes.
  2. With a needle nose plier open a jump ring by slowing twisting one end away from you. Insert into the opening of the deer pendant, attach to the center of the jewelry chain. Close the jump ring.
  3. Cut a strip of rhinestone attach to the tassel just under the bottom of the pendant with more epoxy glue. Layer with a crown charm using more epoxy glue or a jump ring.
 Tips/Tricks: 
  • Try layering 3 tassels for a fuller necklace.
  • Mix and match Rit Dyes for more color possibilities.
  • Dip the end of the tassel into more dye for an ombre look. 
  • Use a store bought necklace that already has a pendant attached, add the tassel and additional findings.
Hope you enjoyed the project. For more of my projects using Rit Dye, visit www.ritstudio.com 

xoxo
Lisa
 

Monday, January 27, 2014

DIY Coffee Filter Valentine


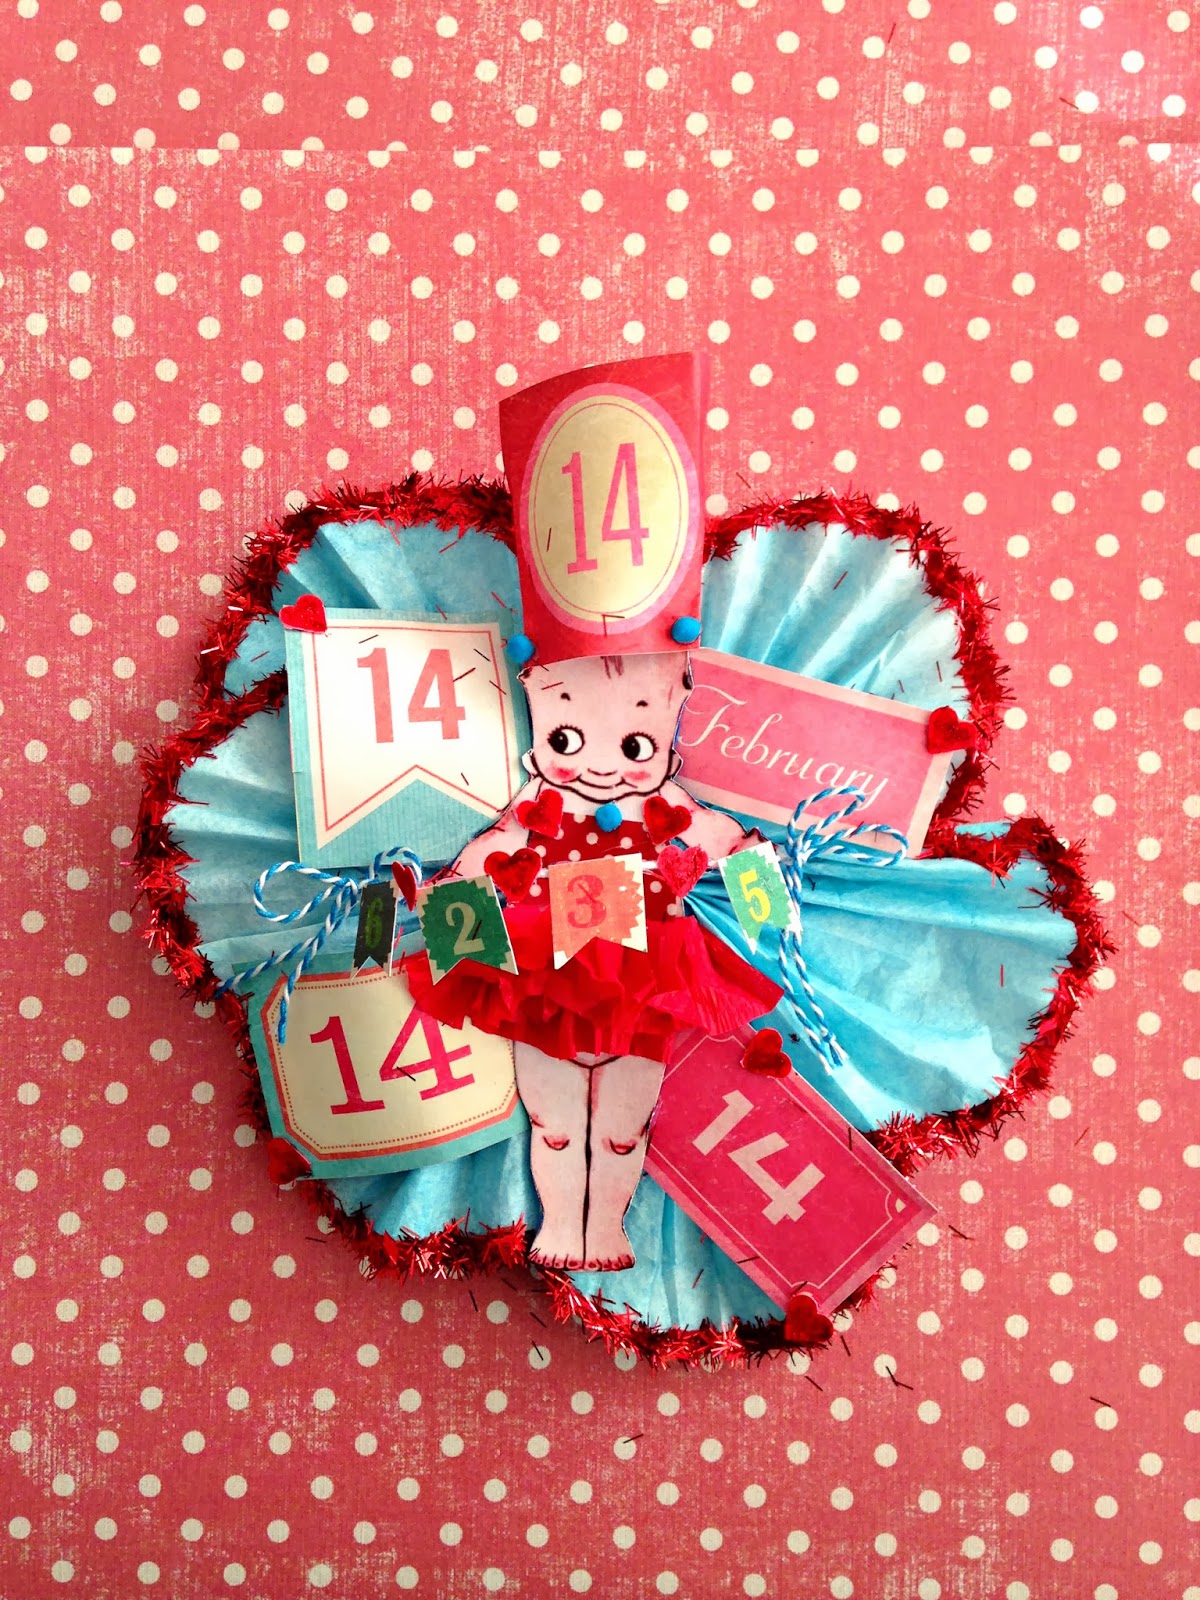
Create coffee filter valentines from hand dyed coffee filters and crepe paper . Created using Rit Dye, then embellished with Kewpie ephemera from Lisa Kettell Designs Cupieology, Scrapbook paper from Crate Paper, tinsel glitter, wire and bakery twine. This piece was inspired by vintage valentines and carnival colors. My fave project to share with you! 

Directions:
The material list and step by step directions for this project can be found in my Rit Studio at: 


Here is a glimpse at the finished coffee filter Valentines (Kewpie Valentine). Some where basic circus themed and others a mermaid themed.


I hope you have been inspired to create some fun valentine's of your own. Remember visit the Rit Dye Link at http://www.ritstudio.com/2014/01/24/diy-coffee-filter-valentines to view my coffee filter dye technique and the coffee filter valentine project instructions.

Magic and Joy,
xoxo
Lisa :-)))

Thursday, January 02, 2014

DIY Tinsel Trees

Here is a great project to create for any time of the year, holiday, or party. You can use wire party tinsel or wire paper party garland to create this. The possibilities are endless. Trees are always great ways to jazz up a space or use as a display.


Materials:    

  •     Craft wooden dowel
  •     Foil pan
  •     Tinsel wired party garland
  •     Chlorine bleach
  •     Glass bowl large
  •     Glue
  •     Glue gun
  •     Hair dryer
  •     Large metal spoon
  •     Old towel
  •     Paper towels
  •     Plastic table cover
  •     Rubber gloves
  •     Scissors
  •     Rit Dye Colors Used: Petal Pink

Directions:


Directions To Make The Trees:  

  1. Cut 9 pieces from the tinsel wired garland measuring these dimensions: 3 pieces at 6 1/2 inches, 3 pieces at 4 1/2 inches, 2 pieces at 3 inches and one at 6 inches.
  2. On a craft wooden dowel, measure 2 inches from one end, mark in place with a pencil or pen.


  3.  Now wrap one of the 6 1/2 inch cut tinsel wire garland pieces around the craft wooden dowel at the 2inch mark. Repeat for the next 2 pieces of 6 1/2 inch cut tinsel wire garland pieces. Secure in place with hot glue. ( See pictures for guide )
  4. Measure an inch from the wrapped garland and mark with pencil. Begin wrapping the next set of cut tinsel garland pieces that measured 4 1/2 inches in the same way you wrapped the other pieces. Secure in place with hot glue.
  5. For the last piece that measures 6 inches, wrap 2 times around the top, secure with hot glue and pull straight up to finish the tree.

Directions For The Dying Tree: 

  1. Prep your surface. Lay plastic table cover or large old towel on the surface you will working over. Put on your rubber or latex gloves.
  2. Mix 2 teaspoons petal pink Rit liquid dye with 1 Cup hot water in a large glass or metal bowl. For good hot water, heat some in the microwave for 2 minutes. Let sit for 1/2 hour.

 Tips/Tricks: 

-Use a hair dryer or heat gun to speed up the drying process 
-You can dye the cut pieces of wire tinsel garland first before you wrap them around the dowel.
-Try wire paper garland in place of wire tinsel garland. If using the paper garland, reduce the amount  of dye time. 
-Mix Rit dyes for more color choices. Pour dye solution into a spray bottle for more fun effects.

  For more project photos visit the Rit Dye Studio under my project studio at: http://www.ritstudio.com/2013/12/30/diy-tinsel-trees/