Showing posts with label diy project. Show all posts

Thursday, April 02, 2015

Come Sail Away, DIY Large Driftwood Boat


"Come Sail Away" with me on a seaside adventure. This project is for a large 3 foot driftwood schooner boat made w/products from Canvas Corp Sails & Shells line, 7Gypsies trinkets, ink from Tattered Angels, shells and driftwood I found last week near my house. This boat is now sitting proudly in my loft space!
The benefits of living in NJ, means quick access to many lakes, and the shoreline. Some rivers such as the Raritan river stream to the bay, which extends into the Atlantic ocean at the Perth Amboy points of the state. Whenever I get the chance, I head over to Duke Island Park to explore and look for natures gifts and washed up treasures such as sea/river glass, tile shards, coins, shells and drift wood, which stream up line from the bay and wash up onto the land edges.


After a storm or high water, is the best time to explore, as new treasures surface. I never know what I will find on my exploration. This always leads to inspiration and a bevy of project ideas such as this project. After receiving a fabulous package of paper and goodies from Canvas Corp., line of products, I new my found objects would become a form of art.

I stumbled onto several pieces of driftwood, and new they were destined to become a large boat assemblage, the result this project; "Come Sail Away".
 Materials
  • 2 large pieces of driftwood or thick tree branches
  • Scrapbook paper, Sails & Shells Sampler Pack, Canvas Corp 
  • Findings, clothes pins, 7 Gypsies
  • White paper floral wire, seer sucker bakery twine (Hemptique), trims and muslin fabric ribbon
  • Shells, tiny starfish 
  • Parchment color treat box, vintage sailor ephemera
  • Inks from Tattered Angels (fine wood, aged mahogany)
  • Tools; scissors, hole punch, thin nails, hammer, hot glue and hot glue gun
  • Extras/Optional: German glitter, small branches, tags, metal grommets, grommet setter, ink pad and number/letter stamps, cotton pad or cheese cloth for inking

Directions
  1. Decide which piece of driftwood will be the base and which one will go on top.  Then hammer thin nails into the two pieces of driftwood to hold in place. I used 3 nails. Hot glue any openings for extra durability.
  2. Crinkle a piece of parchment earthy color paper from the scrapbook sampler pack, punch two holes into one side of the paper. (one hole at the top, one hole at the bottom).
  3. Cut 2 pieces from fabric ribbon measuring 12 inches each. Thread through each punched hole and tie onto the upward piece of driftwood.  
  4. Hot glue a treat box to the middle of the upward piece of driftwood. Insert a small branch into it, decorate with tiny shell, vintage sailor image and wording from the paper sampler pack. Again, hot glue in place. 
  5. Cut small rectangle strips from another sheet of paper in the sampler pack, hot glue to the bottom of the sail, line with trim of choice. 
  6. Attach a piece of white paper wire to the top of the upward branch, and one end at the bottom right of the downward branch (the base). Cut triangle shapes from more paper and hot glue to the wire. 
  7. Stamp lettering onto the muslin fabric paper sheet and cut into tile shapes. Trace two tag shapes onto the same fabric, cut. Then add metal grommet, and stamped tile shapes to the tags, tie to the top left of the sail with bakery twine. 
  8. Create an anchor shape onto the front of the sail with more paper.
  9. Spray tattered angels ink of choice into a cheese cloth or cotton pad, spread all over the edges of the sail and any areas you want aged or distressed.
  10. Finally find a space in your home or studio for your driftwood masterpiece.
 Tips/Tricks

  • For a truly sturdy boat use clear caulk and caulk gun where the nails and branches are.
  • Try nautical ribbons instead of the muslin fabric ribbon.
  • Created various sails instead of one large one. 
  • Add more pieces of driftwood to form a larger boat, wider boat or make a row boat base.
  • Add German glitter and chipboard lettering.


Stay tuned for more driftwood projects this weekend. Smaller in size, fast and easy to make, perfect for table settings and memory projects.

xoxo
Lisa

Tuesday, March 31, 2015

DIY Vintage Transfer Pillows

For a few months I have been wanting to make DIY Vintage Transfer Pillows. I turned muslin fabric craft totes into vintage pillows w/ black/white copies, wax paper, heat and stuffing! Whole project cost $10 for 4 pillows!
This project can be done a variety of ways. Instead of wax paper, you can use stencils, stencil brush and black paint. Try a black and white photocopy, transfer paper, stylus and a black sharpie. Iron on transfer paper works as well.

Materials:

-Wax paper

-Printer paper

-Ink jet printer

-Image or lettering of choice

-Bone folder or painting scrapper

-Muslin fabric craft tote

-Pillow stuffing

-Paper spray adhesive of choice

-Tools: scissors, sewing needle, sewing thread, heat tool


Directions: 
  1. Choose a few images or lettering labels you want to print. (visit my flickr gallery for a bunch of free collage images) 
  2. Cut a few pieces of wax paper to 8.5 x 11 inch sheets. Attach the cut wax paper to the same size computer paper using spray adhesive. Load into your computer printer. Make sure the wax paper part is the area that gets printed on when it comes out of the printer. (Doing this makes printing the wax paper easier) 
  3. Before you begin printing, make sure you switch your printer settings to mirror images, so that the wording or images print in reverse. 
  4. Carefully remove the printed sheets from the printer, making sure to hold the ends, away from the ink, as the ink stays very wet. 
  5. Place the wet side of the wax paper onto one side of the muslin fabric craft tote, then using a bone folder or painting scraper, press/rub down onto the paper until the ink has transferred to the fabric. 
  6. Remove the paper and using a heat tool or blow dryer, add some heat to set.
    Cut the tote straps, fill with pillow stuffing and stitch close. 


    Iron on Paper Transfers:

  1. Replace the wax paper and printer paper with iron on transfer paper and print. (remember to click on the mirror settings on the computer before printing)
  2. Then iron onto the fabric, stuff, stitch.
For Transfer Paper and Sharpie:
  1. Print your image on regular printer paper. No need to mirror image.
  2. Place a piece of transfer paper onto the fabric and layer the printed image onto it, with printed side facing you (Blank side down against the transfer paper).
  3. Trace the image onto the fabric using a stylus or pencil. Remove both papers.
  4. Fill in the transfer with a black paint pen or sharpie. 

    Stencil and Paint Transfers:
  1. Buy paint stencil online or at craft store.
  2. Using a stencil brush and black fabric paint, stencil on the fabric.

Tips/Tricks:
-Try color images
-Photocopy ticket stubs such as a first movie date, wedding table number, broadway or sport tickets for a fun memory pillow.
-Create fabric banners, or print on wood.
Hope you enjoyed the tutorial, so many possibilities, Love to see what you make. I have my pillows on the couch and sitting chairs.  I've even used them to showcase my jewelry wares. Now onto the next crafting adventure.

xoxo
Lisa


Friday, January 30, 2015

Crafting With Lisa Kettell Designs

Valentine's Day is almost here, just a few weeks away. Inspiration is popping up all over the place and my creative mind is whirling with ideas to create some sweet romantic fun.


Over at ILoveToCreate, Jennifer Perkins created the most fabulous Chenille Valentine People using chenille stems and Carnival Cupie Doll Head embellishments from Lisa Kettell Designs.  These Chenille dolls are beyond fabulous, I just heart them. Jennifer Perkins rocks.

Julie Cottrell made the cutest set of Valentine Banners that I have ever seen. Julie used a variety of fun supplies including the Cherry Soda Pop Charlotte Doll head embellishments from Lisa Kettell Designs. These embellishments are some of my fave in the line.  I just love what Julie did with them in her banners.  Visit her instagram feed for more inspiration.
Over at Craftside, Stefanie Girard shares an Almost No-Sew Quilted Heart Decoration for Valentine's Day, I just love it. Even her display vignette filled with pink and red spine books from the Rockport/Quarry/Craftside family of books, the finished quilt and decor is fabulous.  I spy a Lisa Kettell Designs original doll: The Two Headed Charlotte, straight from the circus.

Over at Sparkling Scrapbooks, Deb Famularo is just bursting with inspiration. Everywhere I look is something fabulous, I just love visiting her blog. Her recent post is a project called Love 2 Party which she created a sparkling frame vignette for Valentines Day using Party Girl Heads from Lisa Kettell Designs. The project is on her blog.

Deb is a LK Designs team member and has contributed to many LK Designs projects and articles.  Her artwork is so inspiring and we just love what she does with the products.

Scroll through her blog and check out all the inspiration. Here is a peek at the Love 2 Party project. So sweet, so romantic, so elegant.                              
Stay tuned for more inspiring projects for Valentine's day and everyday.  Special thanks to all who have created with LK Designs products and their wonderful projects, inspiration and posts.

Have a wonderful weekend,
Lisa :-)


Monday, January 27, 2014

DIY Coffee Filter Valentine


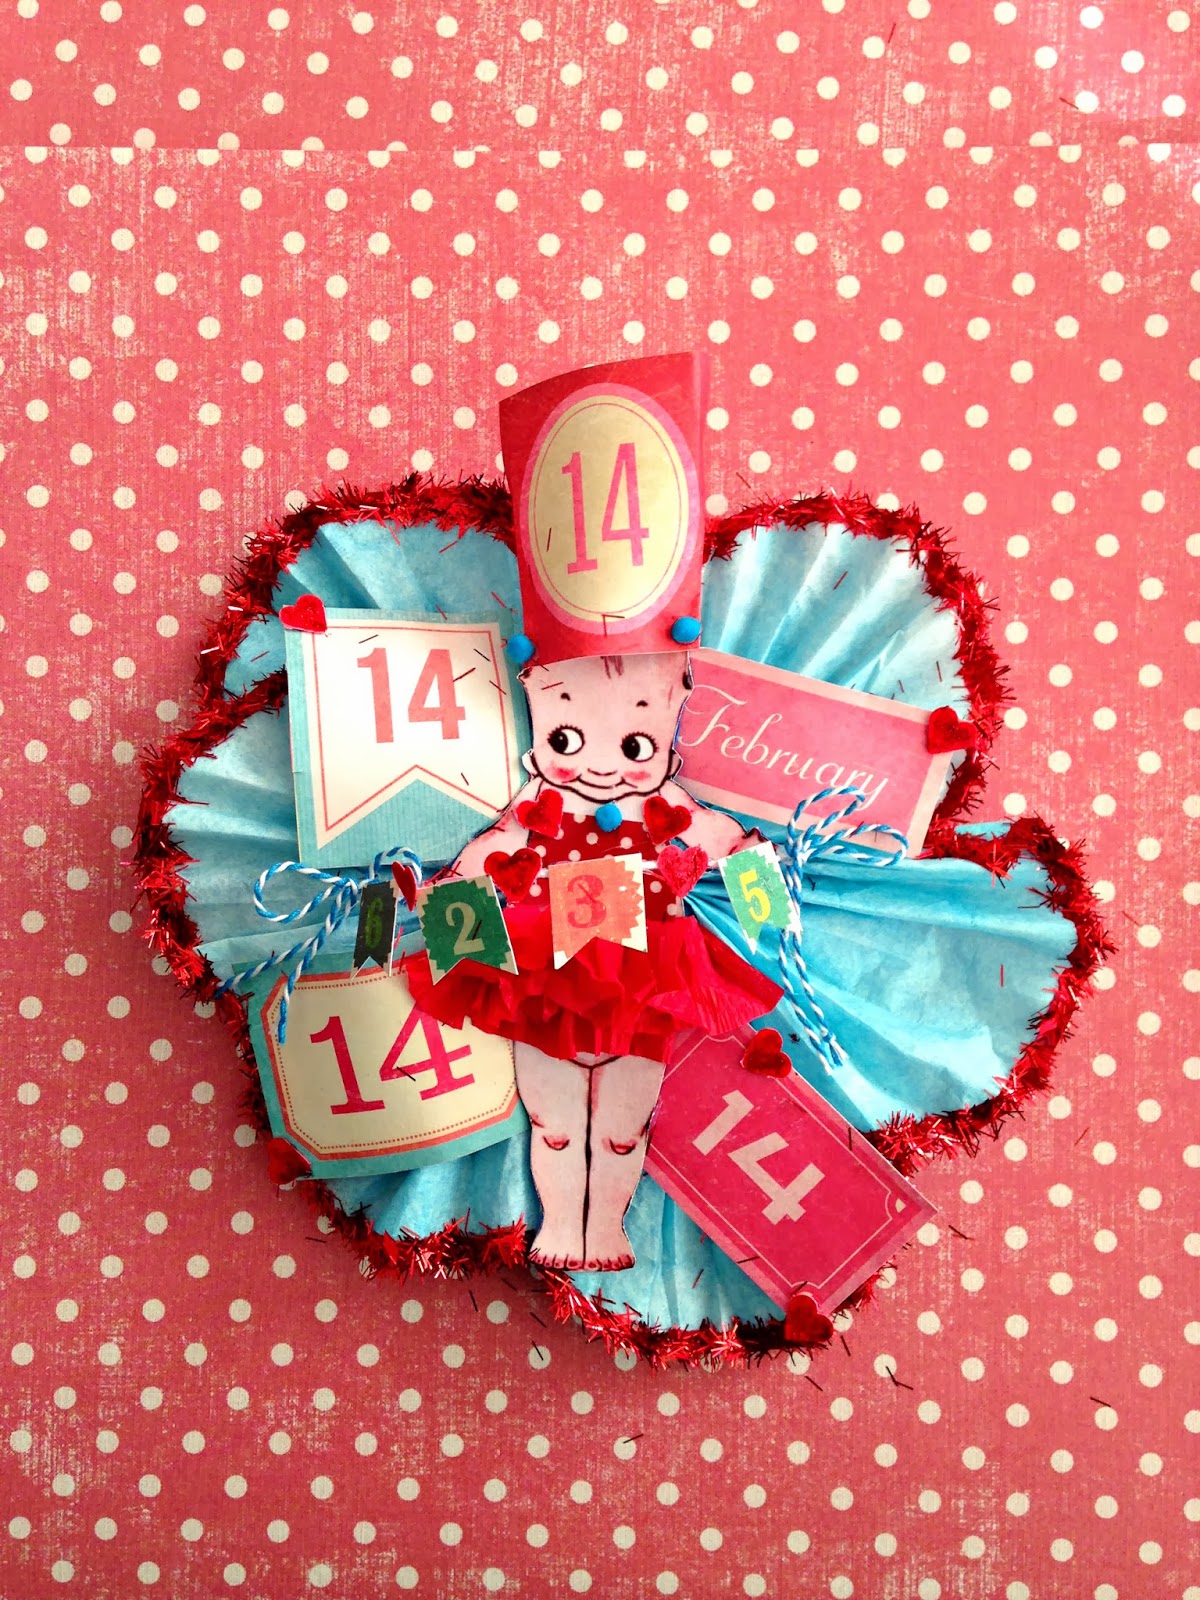
Create coffee filter valentines from hand dyed coffee filters and crepe paper . Created using Rit Dye, then embellished with Kewpie ephemera from Lisa Kettell Designs Cupieology, Scrapbook paper from Crate Paper, tinsel glitter, wire and bakery twine. This piece was inspired by vintage valentines and carnival colors. My fave project to share with you! 

Directions:
The material list and step by step directions for this project can be found in my Rit Studio at: 


Here is a glimpse at the finished coffee filter Valentines (Kewpie Valentine). Some where basic circus themed and others a mermaid themed.


I hope you have been inspired to create some fun valentine's of your own. Remember visit the Rit Dye Link at http://www.ritstudio.com/2014/01/24/diy-coffee-filter-valentines to view my coffee filter dye technique and the coffee filter valentine project instructions.

Magic and Joy,
xoxo
Lisa :-)))

Wednesday, July 18, 2012

DIY Faux Vintage Tinsel

DIY Faux Vintage Tinsel!

Materials
-Non-detergent brillo pad ( cheap dollar store ones work)
-Clear tacky glue or clear glue
-Antique silver color glitter

Directions
1. Pull apart pieces of the brillo pad, begin rolling into a snake like shape.
DIY Vintage Tinsel! Part 1DIY Vintage Tinsel! Part 2DIY Vintage Tinsel! Part 3
2. To add more length to the rolled snake like shape, pull more brillo apart and attach to an end of the snake like shape, roll into. The brillo will attach easily to more brillo without the need for glue.
DIY Vintage Tinsel! 4DIY Vintage Tinsel! 5
3. Repeat step two until you use up the whole brillo pad.
DIY Vintage Tinsel! 6DIY Vintage Tinsel! 8
4. Add extra glitz using clear glue and antique silver glitter.

To age your faux vintage tinsel rub tinsel with a brown ink pad, I use mixed media ink pads from clearsnap to age my tinsel. DIY Vintage Tinsel! 2DIY Vintage Tinsel! 3
DIY Vintage Tinsel! 6
Tips/Tricks
-Try soaking your brillo pad in an ink bath, let dry. Use a heat gun to speed up the drying process.
-Wrap your tinsel around a vintage spool to store it.